Butchering your own big game (we’ll assume deer in this article, as it’s the most common nationwide) is not an overly complicated or difficult endeavor. It’s work, to be sure, but the work is rewarding and the benefits of knowing exactly how your food was handled from field to table are well worth it.
You can get as complicated as you want with home butchering, and I’ll dip into that a little at the end of this article, but butchering your big game can be a pretty simple process. There are a handful of tools that you really can’t do without, though, and I suggest you start with these and get a couple of deer under your belt before you decide what other gear you’d like to add to your toolkit.
A Gambrel
You need a way to hang a deer up so you can skin it and cut it into manageable pieces without it touching the ground. I suppose you could do this with the carcass spread on a tarp on the ground, but it’s extremely common to use a gambrel to hang a deer, which makes it much easier to work with.
A gambrel is just a sort of upside-down-Y-shaped metal gadget. You hook the two long ends through the bones of the deer’s legs (usually back legs) and attach the top of it to whatever you’re hanging it from—like an eye-bolt screwed into the ceiling of your garage or on a meatpole. I recommend you buy a gambrel with its own rope-and-pulley system to make hoisting the deer off the ground easier. If you buy a plain one without this, you’ll need a pulley on the ceiling or some other method of raising and lower the carcass.
A Big Cutting Board and Good Knives
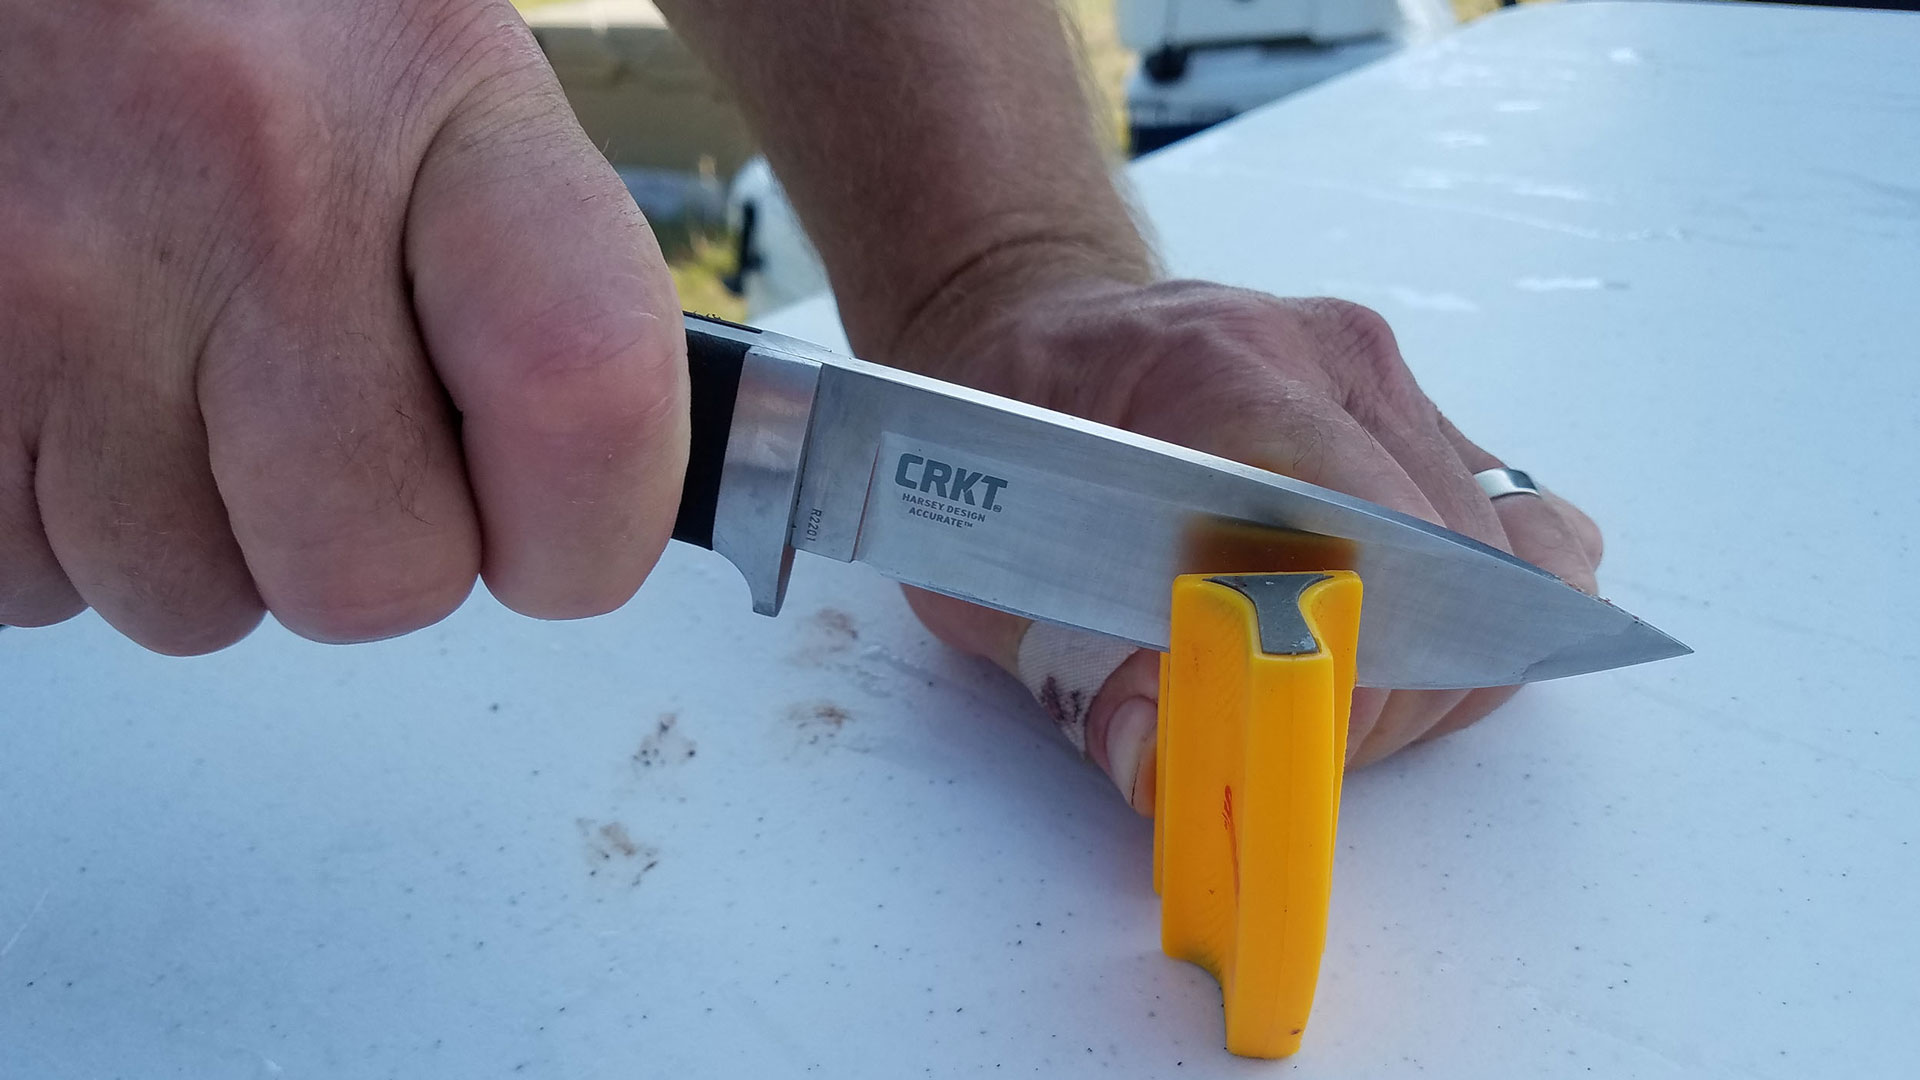
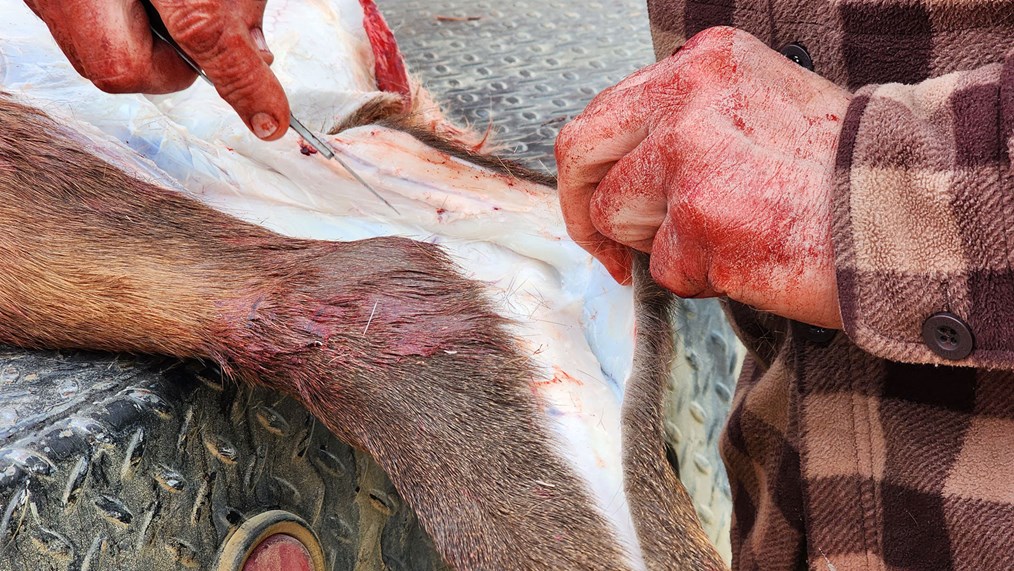
You really should have at least two knives for butchering—a skinning knife and a deboning knife for cutting meat off the bone, which can double as a kitchen knife if you need it to. You can use the smaller skinning knife for cutting free smaller bits of meat, like trimming the ribs and freeing the tenderloins. Just make sure you clean the knife after skinning the animal before you go cutting meat with it, so you don’t transfer hair or, worse, any funk from the scent glands.
Once you get the meat all off the bone or boned the way you want to eat it, you’ll need a big cutting board to spread things out on as you trim, cut up stew meat, and separate meat into piles for different finished products. The bigger the better when it comes to the cutting board. I use an old piece of Formica countertop because it’s huge and it’s easily sanitized and put away when I’m done.
Whatever kitchen knife is comfortable for you will do fine for this inside work. You should consider adding a fillet knife, which flexes nicely so you can trim silverskin off in thin slivers without wasting good meat.
Wrapping/Freezing Material
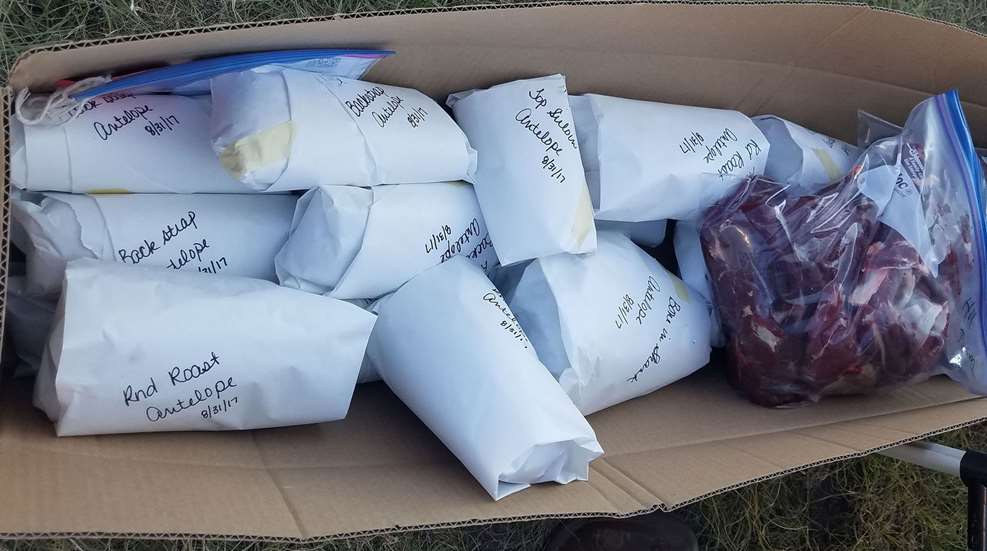
You’re going to need to package all this meat for the freezer, and the material you package it in must protect it from air, which is what causes freezer burn. You have three primary options here, and I’ll give them to you in order of my own preference:
A vacuum sealer and bags. This is an investment, and the bags themselves aren’t cheap, but I find meat lasts the longest when it’s vacuum sealed. The only thing to be aware of is that for reasons I don’t understand, vacuum sealing turns the outside of the meat brown instead of red when it thaws. Don’t be freaked out by the color (this has happened with all red meat I’ve ever sealed; beef, deer, elk, ground, steaks, roasts). The meat is still in great condition.
Plastic wrap followed by butcher paper. This method, done properly, is just as effective as vacuum sealing. It can take longer, and no matter how much plastic wrap I use, most packages end up leaking in the fridge once they’ve thawed. Wrap the meat tightly, pressing all the air out of the plastic as you can, and then wrap it up again with a second piece of plastic wrap in the opposite direction. Then follow with butcher paper and tape.
Zip-top baggies. Baggies only work well when they’re very full; otherwise, there’s too much air exposure. They are great for ground meat, though, especially if you pat them flat. This keeps the entire surface area in contact with plastic (no air contact) and helps them stack really nicely in the freezer.
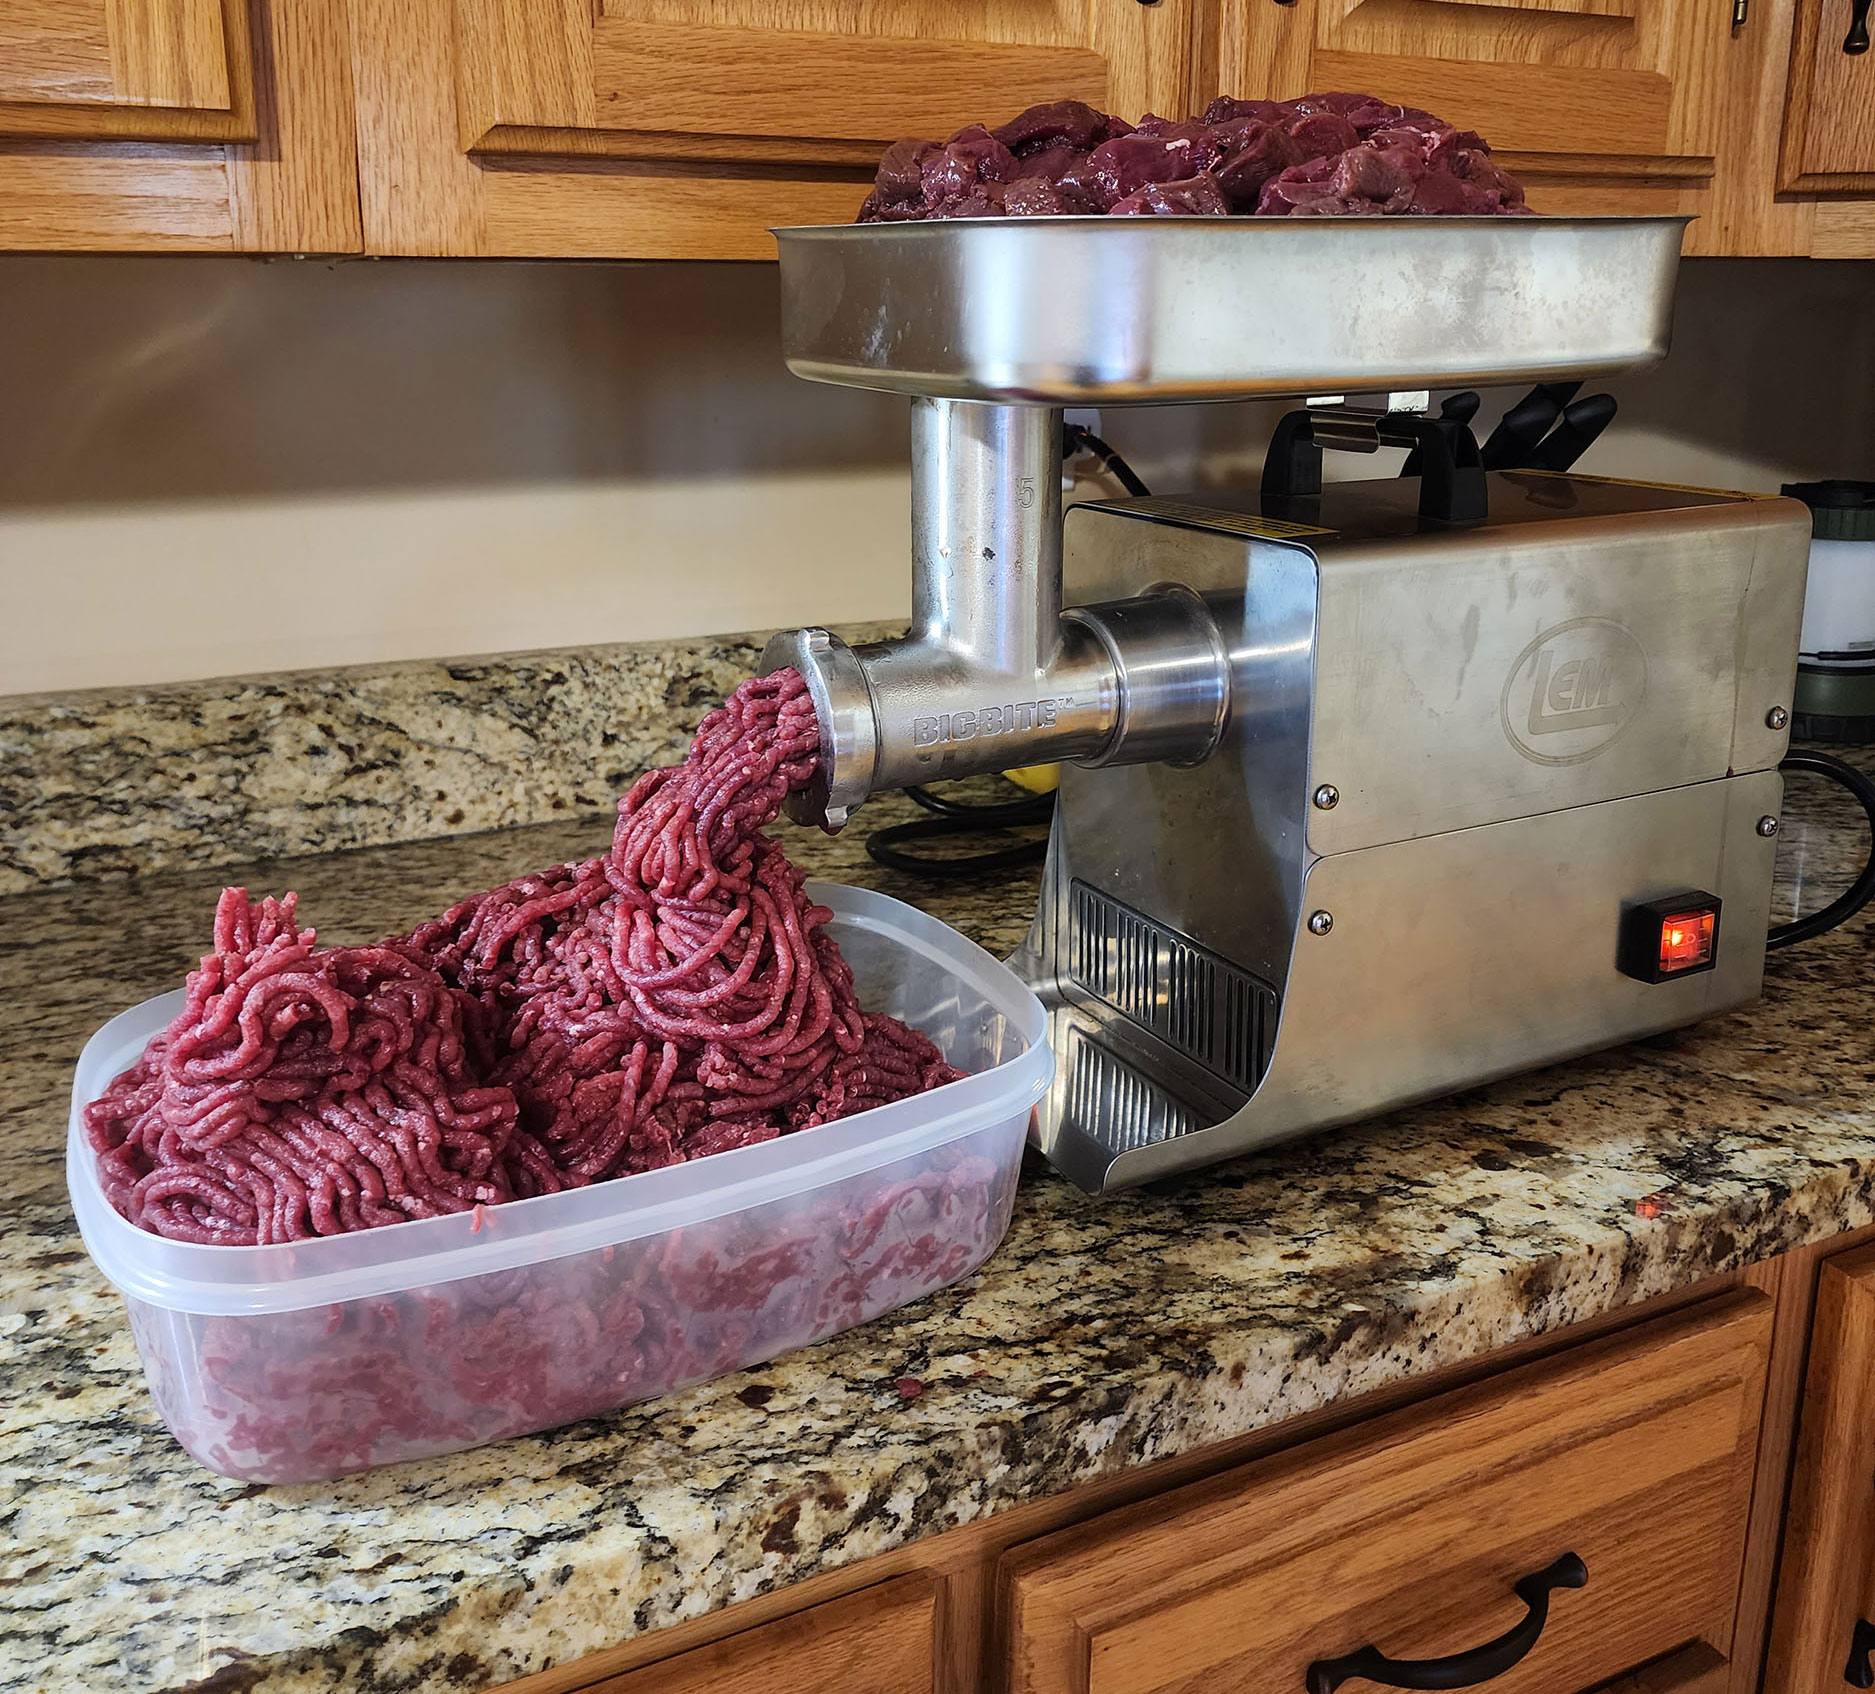
A Grinder
You can get away without a grinder if you know someone who will grind your meat for you—whether that’s a buddy or the local processor who will throw it in his grinder for a few bucks (but only do this if you are assured you’re getting your OWN deer back, not a mixture of all the deer that came in that week). But of all the equipment you might eventually buy to help expand your home butchering, this should almost certainly be the first.
You’ll probably end up grinding a good percentage of your deer. You can do this inexpensively with a hand-crank grinder if you’re willing to put in the work cranking it, or you can invest in an electric model. My advice if you go electric: Don’t cheap out. The last thing you want is a motor that burns out because it wasn’t equipped for the volume you’ll be putting through it. Mine is .35 horsepower, and I wouldn’t want to go much lower than that.
Miscellaneous Extras
You’ll also need a few simple items you probably already own to make the job and the cleanup easier: A tarp if you need to protect your floor where the deer is hanging, a bucket to toss discarded parts or designated cuts into, a couple of garbage bags to tote the deboned meat from the butchering pole to the kitchen, a permanent marker for labeling packages. A bowl of water is handy to keep near the butchering pole for rinsing hands and knives periodically while you’re deboning—unless you’re lucky enough to have a sink nearby.
Bonus Gear to Expand Your Options
Once you have the basics down and you learn what kind of cuts your family uses the most of, you might find that adding a few more pieces of equipment makes the job easier or opens up new options. If you want to make sausage, you might invest in a mixer and/or a sausage stuffer, which is often an attachment for your electric grinder. Thinking about jerky? You’ll want a dehydrator or some wire racks for your oven, along with maybe a jerky gun or a jerky board. If you’re really into cubed steaks, a machine or attachment dedicated to cubing might be worth a look. There are attachments for your electric grinder that will slice jerky or make patties.
The options are endless based on what you want to do, and that’s just for processing. We haven’t even talked about grills, smokers, sous vide machines and other cooking methods!