We hunters love to take pictures of ourselves with the animals we shoot. Unlike what the anti-hunters try to claim, it’s not some sick bloodlust ritual, and it’s not the only or the most important thing we take from the animal and the experience. But too often, we rush the photo process so we can move on to the next step, and we end up with pictures that could have looked so much better if we’d taken just a little bit of time to set them up more thoughtfully.
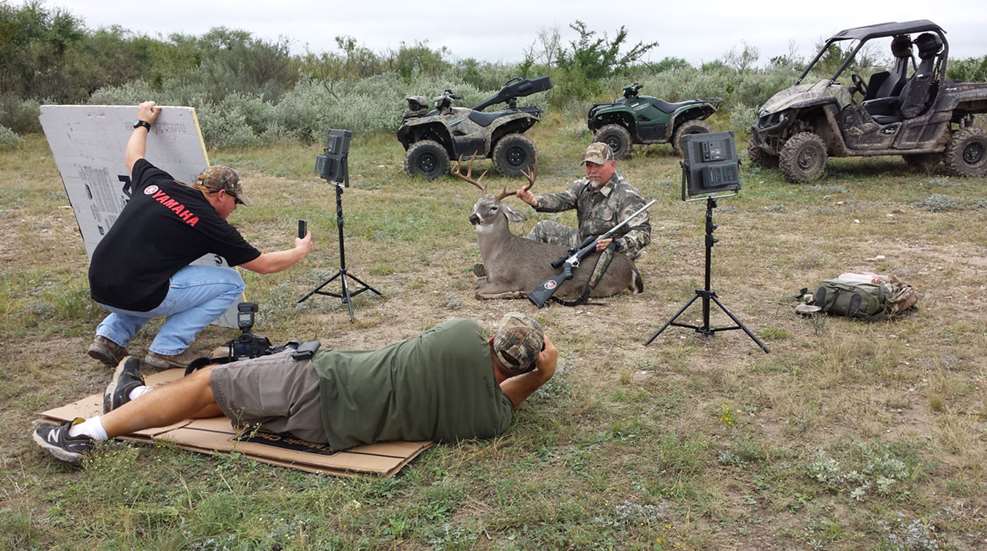
As an outdoor writer, I’ve been on a media hunt where dead bucks were frozen, perfectly posed sitting upright, in a walk-in freezer. The next morning, two assistants held reflectors to perfectly light the scene as I smiled behind my buck, barely touching him because he was sitting upright by himself.
I don’t want you to get that elaborate (that was a little much, even for the media). You need to do this relatively quickly so you can get to field-dressing and cooling the carcass. But if you can take just a few extra minutes and consider some simple tips, you can take much better hunting photos. And take plenty of photos—there’s nothing worse than finding out after the fact that the ONE shot you took of you with your deer was ruined because you had your eyes closed, someone walked through the background, or the camera focused on your shirt and not your face.
These tips will have you taking better hunting photos without a ton of effort. It won’t take much time—just some extra attention to detail.
1. Clean the Animal Upc
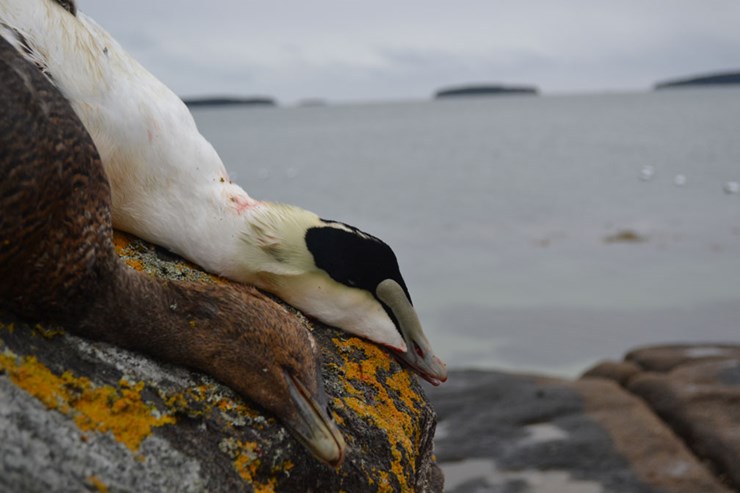
Take a few minutes to clean the animal up before you photograph it. Wipe or rinse off blood dripping from the nose, stuff a deer’s bloody tongue back in its mouth or cut it off and toss it, fluff a bear’s fur, or smooth down a duck’s feathers. Nothing says “Instagram sensitive content warning” like a bloody hunting photo. You can’t always rinse off all of it, but do what you can.
If there’s a gaping wound on one side of the animal, try to photograph it from the other side. This is especially true if you made a marginal shot—it happens, but there’s no sense advertising it to the whole world.
For big game, if possible, arrange the animal’s legs folded under it so you’re not photographing splayed legs and belly. Yeah, this takes a little work, and it might take you a little muscle to support the weight as the photo is being taken.
2. Seek Good Light
You won’t always have the option to choose your lighting, but good light makes good photos. If it’s dark and you’re forced to use headlights or the porch lights to illuminate your shot, so be it, but at least make sure the photographer isn’t standing directly between you and the light source such that her shadow is cast over you and the animal.
If it’s super cold out or you have another way to keep the (gutted) animal cold until morning, or if you shoot an animal during the daytime, you have much better lighting options. If you can, try to set up the shot so that the sun is not directly in front of or behind the hunter, to avoid squinting or backlighting. Be mindful of dappled shadows like those you’ll get from posing under a sparsely leafed tree. Again, watch where the photographer’s shadow falls, and although it’s not always possible, see if you can hit the right angle so that the hunter’s face is not half in shadow and half in light, and maybe have them tip their hat up a bit so their eyes aren’t hidden. Shady spots are often good choices, especially if the shade is broad and even.
3. Watch Your Background
Get that deer out of the truck bed and arrange him in the grass rather than photographing him in the garage or on the meat pole. If you’re back at camp for the photo, shoot with the hunter’s back to the woods or field, not to the cabin or the truck. It’s a simple swap that makes a huge difference in the quality of the hunting photo.
Just take a quick second to notice what’s in the background of the photo. Do you want your ground blind in the picture? If so, cool idea. If not, maybe turn a little bit so it’s out of frame. Turning or having the photographer take a step or two to one side might also let you cut out power lines or other distracting background noise.
4. Set the Scene
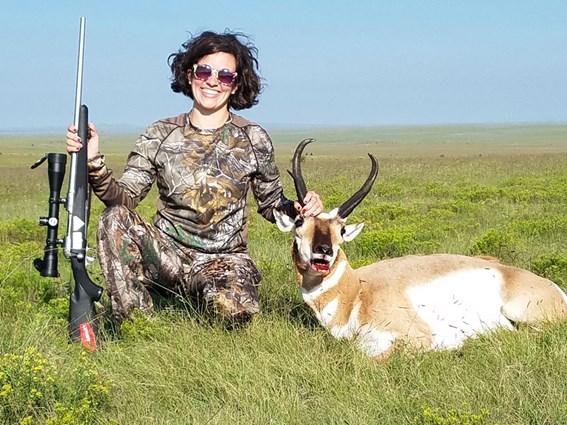
If possible, it’s always nice to set up a photo that reflects the area in which the animal was shot. For waterfowl, this might mean shooting in front of a lake or in the flooded timber. For big game, if you have the luxury and the time, finding a scenic spot that represents the region—some sagebrush for Wyoming pronghorn, a stand of hemlocks for North Woods whitetail, etc.—can create a cool photo and help you remember the hunt as a whole. Don’t be afraid to take wide shots with plenty of background if you’re in a scenic area.
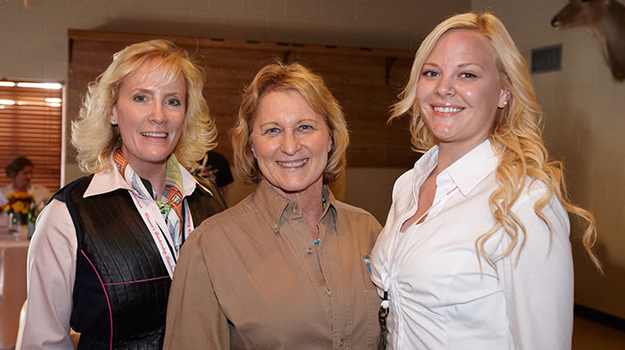
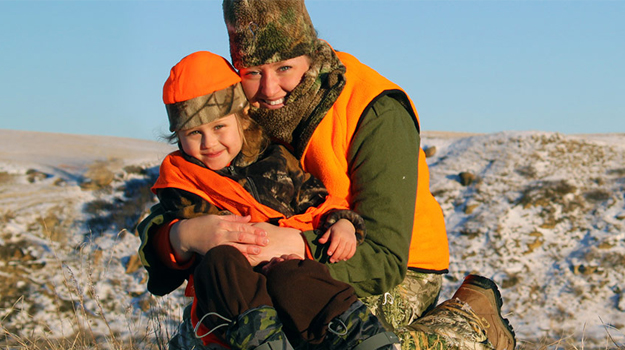
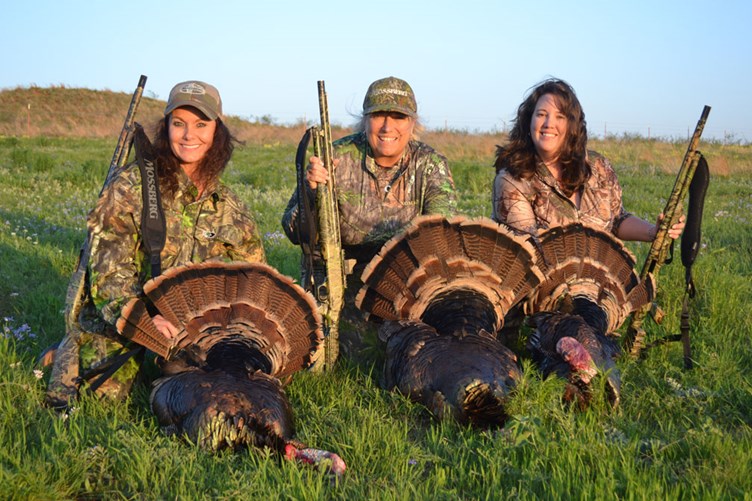
If you were hunting with a friend or loved one, including them in the photo can make a nice memory. On guided hunts, I always like to take at least one photo with the guide in it, to help me remember the full experience. And if you want your gun in the photo because it’s meaningful to you or just because you like the look, go for it, but be careful of where the gun is pointing, especially if someone is in the photo with you.
5. Get the Right Angle
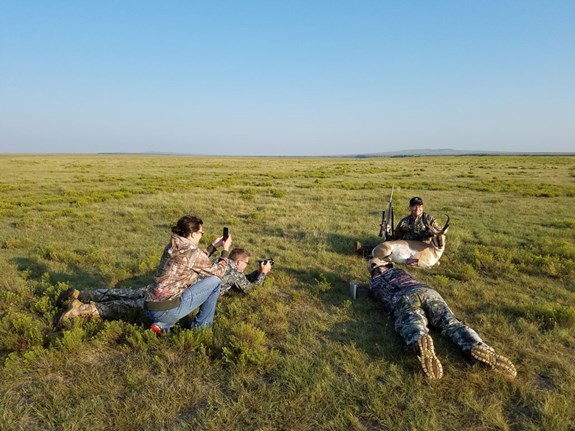
Have the photographer experiment with different heights. Taking a photo from too high up (a standing photographer photographing a hunter and deer on the ground) can make everything look small and distorted. Taking it from underneath (a hunter and animal set up on a rise or on top of a ditch with the photographer below—I’ve seen it done) can make antlers look bigger than they are, but it can also give you the appearance of a double chin. Your best bet is usually to have the photographer lay down on her stomach and shoot from the animal’s eye level. If you want to do that thing where you sit way behind the deer and stretch your arm out toward the camera to make the rack look huge, knock yourself out. I’m not a huge fan, but perspective does matter in getting the best look.
As mentioned above, have the photographer move left to right and up and back to get the best background and make the best use of light and shadow. Not all photos need to be shot from exactly 90 degrees facing the animal, either. Move around a little!
6. Don’t Forget the Other Stuff 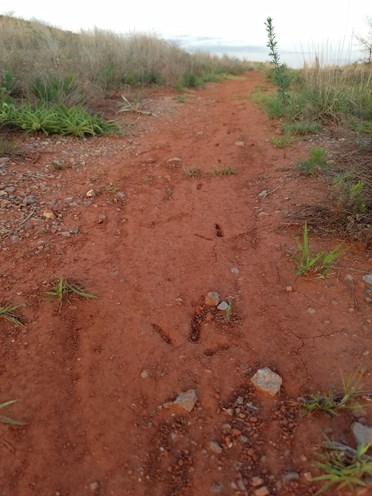
Not all good hunting photos have to have you or an animal in them. Remember to take pictures of the cool sites you see in the woods and all the parts of a hunt. One of my favorite hunting-trip photos happened by accident on a turkey hunt when I came across some deep turkey tracks in a red-dirt road that perfectly represented the Oklahoma landscape in which I was hunting.
Photograph your stand, setup or blind. Photograph your hunting partner falling asleep against a tree. Photograph the squirrel a few branches over that won’t stop barking at you. Photograph the sun coming up over your decoy spread and the dog watching the sky with anticipation rippling through every muscle. These things are just as much worth remembering as the harvest!