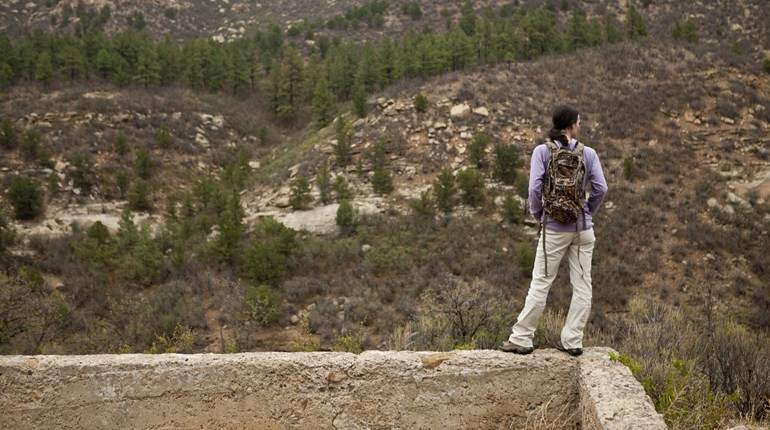
Many of us from the Midwest, South and East Coast dream about hunting the West, whether we want to chase elk or pronghorn or sheep or something else. And we know that hunting out West is very different than the hunting we’re used to in Georgia or New York, because everyone says so—but I’m here to tell you that that’s no joke. The hunting really is very different, and it’ll kick your butt if you’re not prepared for it.
So I’m not going to go over gear lists or tips for scouting or instructions on how to spot-and-stalk—there are plenty of articles that cover all that. What I’m going to do is offer you some advice for physically preparing your body and your skills for what you’re about to do if you’ve got a hunting trip planned out West.
1. Get In Shape, Especially Cardio
You know that physical fitness is a pretty big deal when you’re stalking across prairies or climbing mountains, but there are some specific ways to get in shape on which you should be focusing.
You might see social media influencers doing pack training—filling their backpack with rocks and walking or hiking with it on to train for a Western hunt. This works well, but it’s not necessarily the weight that’s the most important part. When it comes to hunting out West, cardio is king, first and foremost. You want to build lung capacity while strengthening your legs so you can keep climbing and climbing and climbing those mountains. Weights are good, because hopefully you will be packing out a heavy load at some point, but you might need that lung capacity to get to the animal in the first place.
While you’re working on your cardio, work on breaking in your boots. I have been known to wear a new pair of elk-hunting boots to the gym—I hop on the treadmill, crank the incline as high as it will go, and walk at a pace that gets me out of breath but not hopelessly so. It might earn you some funny looks, but it’s effective, and you definitely don’t want to skip breaking in those boots.
And if you have good intentions but never quite get the training done the way you’d hoped, and you find yourself a week out from the hunt and you’re worried about your legs, at least start doing some squats and step-ups to work out those quads. You won’t make much progress at all, but you’ll get through the initial burning-so-bad-you-can’t-lower-yourself-into-a-chair phase before you hit the mountain, at least.
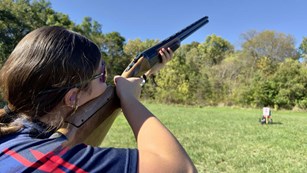
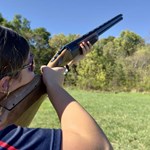
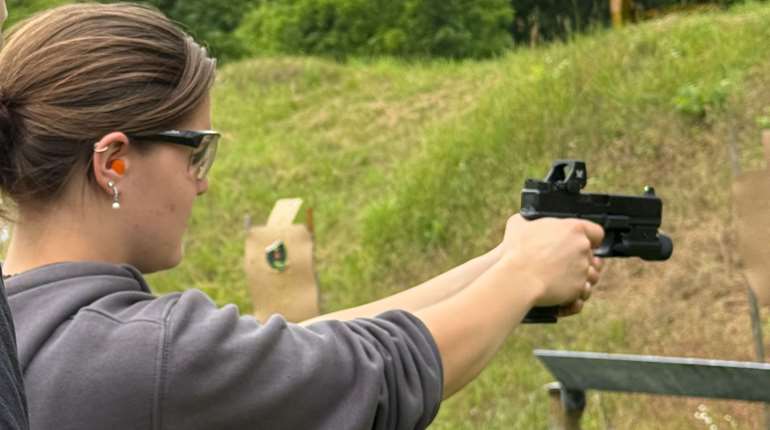
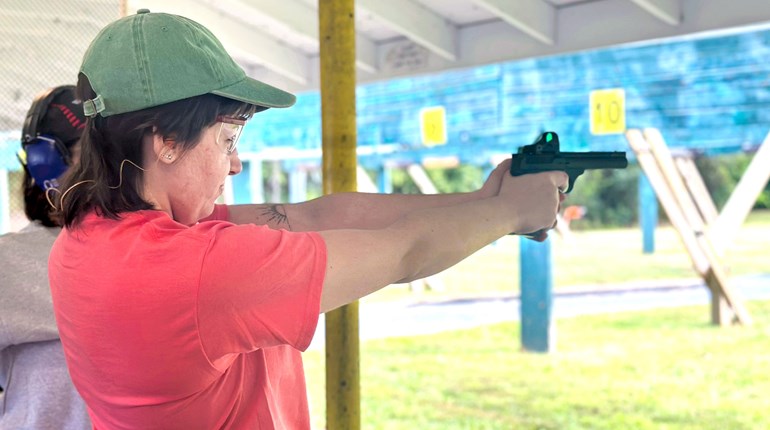
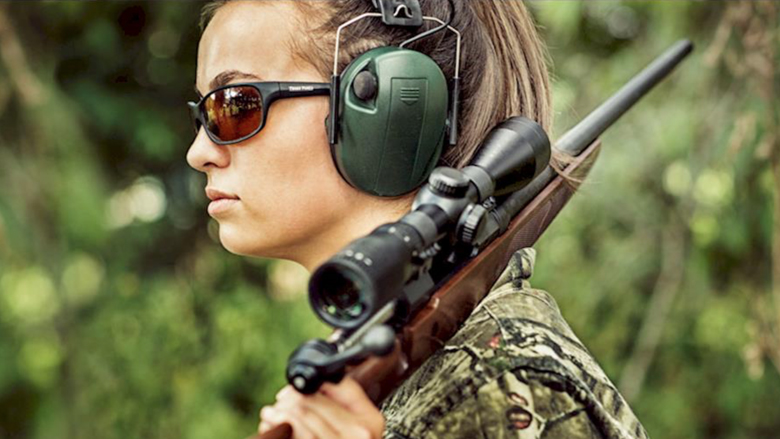
2. Improve Your Shooting
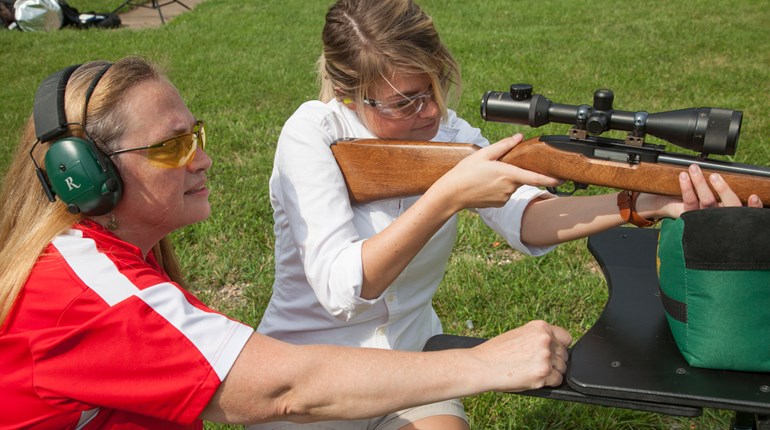
There are two aspects of your shooting you probably need to improve before you go West. The first is shooting from field positions, including the use of shooting sticks. If you’re used to sitting in a treestand where you can brace your gun on the rail, you’ll be thrown for a loop if you find yourself on the side of a mountain trying to make a shot with little or no support. Practice shooting from a braced kneeling position and from prone, using your backpack as a rest. And practice with shooting sticks—they’re great, but they take some getting used to, and you don’t want to be fumbling around figuring out how to get steady when the elk of a lifetime is standing in front of you. Use the shooting sticks or tripod that you plan to take on the hunt, because they all deploy and balance/brace a little differently.
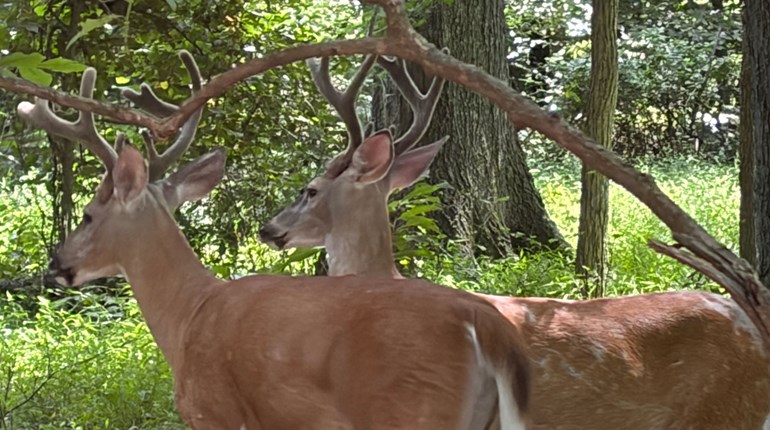
The second way you should work on your shooting involves increasing your maximum range. Shots out West have the potential to be a lot longer than what you’re used to, and while I don’t want to encourage you to take any shots beyond your capabilities, you might be very glad you’ve got plenty of practice shooting at 500 yards when a mule deer gives you a shot opportunity at 350. Being able to make a shot at longer distances requires you to understand your ballistics, and you need to practice these shots from field positions. Only take a longer-range shot if you are very steady—the more you practice this at your home range, the more confident and capable you will be afield.
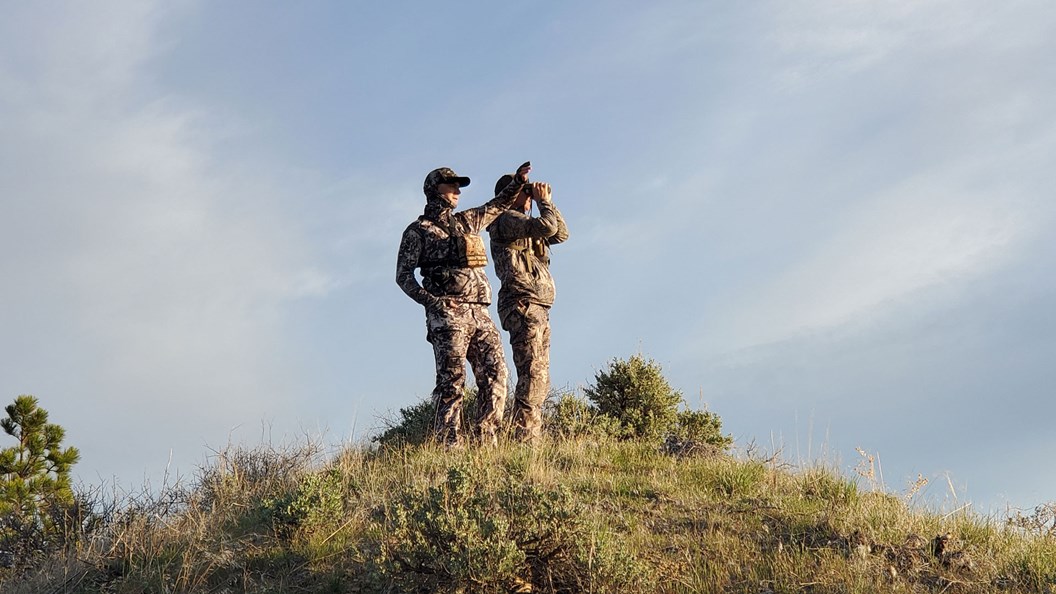
3. Get Good at Glassing
You’ve heard that you shouldn’t skimp on optics when heading west, and that’s because this type of hunting often involves a lot of glassing. Glassing is just a term that means “searching for game through optics,” and there’s actually some skill to it.
Figure out a steady setup, whether you’re using a tripod or bracing your binos steady with your elbows tucked against your body. Fiddling around with this in your living room will help you find a position that minimizes wobble in your binos or spotting scope. And then get on the front porch or hit the park or find somewhere you can practice glassing without looking like a peeping Tom.
Keep the sun at your back if possible. Move your eyes slowly in a grid pattern, so you are less likely to skip chunks of terrain. Go left to right, right to left, and up and down. You’re looking for movement, for unusual lines or colors, for pieces of an animal—you might only see an ear flick above some brush, or catch the glint of the sun on a piece of antler.
This sounds more simple than it is. Glassing is a skill, and like any skill, you can practice it. And be patient—it’s not uncommon to sit in one spot and glass for what feels like a really long time. This is why we recommend the best quality glass you can afford—cheap glass fatigues the eyes more quickly than higher-quality lenses, not to mention the quality of the image you’ll see.
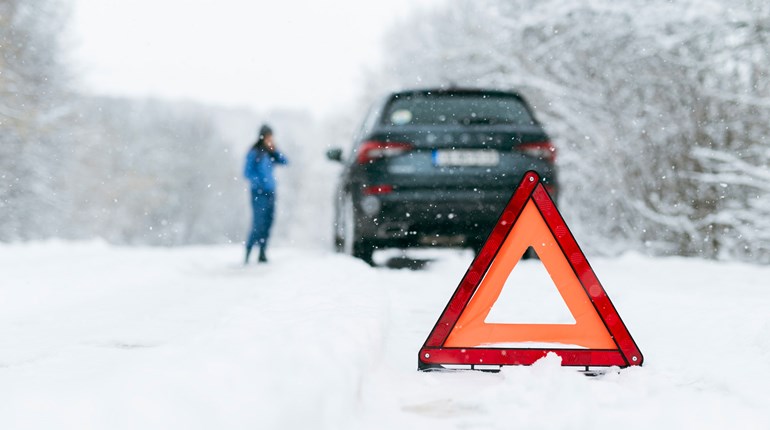
4. Get There Early
In addition to jet lag, you might also experience altitude sickness. It’s a real thing, and it can land you on your butt if you go from sea level to 8,000 feet in a day and just start exerting yourself. If you can arrive a day or two before you plan to head to your hunting spot (which is likely higher), you’ll give your body time to acclimate before you start huffing and puffing your way through the mountains.
Altitude sickness can cause everything from fatigue and trouble sleeping to nausea, vomiting, dizziness and more severe symptoms like pulmonary edema. If you’ve got any of that going on, you’re not going to feel like hunting!
The good news is that you can prepare for altitude sickness before you arrive. Staying hydrated is key, both before your trip and during it. Avoid alcohol when you arrive, and consider adding electrolytes to your water before you start the physical exertion. There are even prescription medications you can take when you arrive that will help you avoid altitude sickness (which generally starts six to 24 hours after arrival).
Some people swear by chlorophyll as a supplement to prevent altitude sickness, starting drops a few days to a few months before you head West. I have not tried this myself, but people I trust have recommended it. We’re not medical professionals here at NRA Women, so just to be safe, you should consult your doctor before you start a new supplement.
You can also buy small canisters of oxygen that are helpful if you find yourself needing a little more oomph on the mountain. Buy them when you arrive (they aren’t airline-approved) and take a hit when you need a boost for recovery or to help you keep going, especially at altitude. Again, I have not used these myself, but the last time I was in elk camp, the guides had them available for hunters who needed them, and one hunter who took advantage of the oxygen boost said it was very helpful.